Pin It

So I went a little "Cowl Crazy" over Christmas. I made them for just about everyone! It all started with the Cowl Knit Along over at Luv in the Mommyhood. I made one for myself and then I just couldn't stop.


I also made one for my aunt and for my husband's secretary. I haven't knit in about 6 years and it was nice to get back to it. Even when I used to knit it was only very basic scarves and maybe one or two hats. I think I even have a half finished blanket still lying around somewhere. :)
I have been trying to branch out and try new things like cables. I am currently working on a hat that involves some lace work. Hmmm... we'll see how it goes.
If you are interested in getting started with knitting here of some web sites that I have found very helpful.
Knitting Help and The Knit Witch both have some awesome knitting videos. If you come across a stitch in one of your projects that you don't know how to do just look on one of these sites and there will most likely be a video for it. If not, I have found Youtube to be very helpful.
Ravelry is full of awesome free patterns for just about anything you can think of. I love that you can type in the type of yarn that you have in your stash and see what others have made with it. There are also tons of knitting groups that you can join on-line.

So I went a little "Cowl Crazy" over Christmas. I made them for just about everyone! It all started with the Cowl Knit Along over at Luv in the Mommyhood. I made one for myself and then I just couldn't stop.

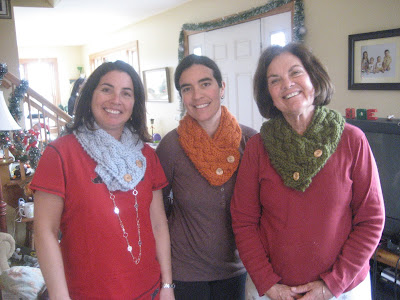
Here are my mom and sisters modeling their cowls. These are all the Breckinridge Cowl.

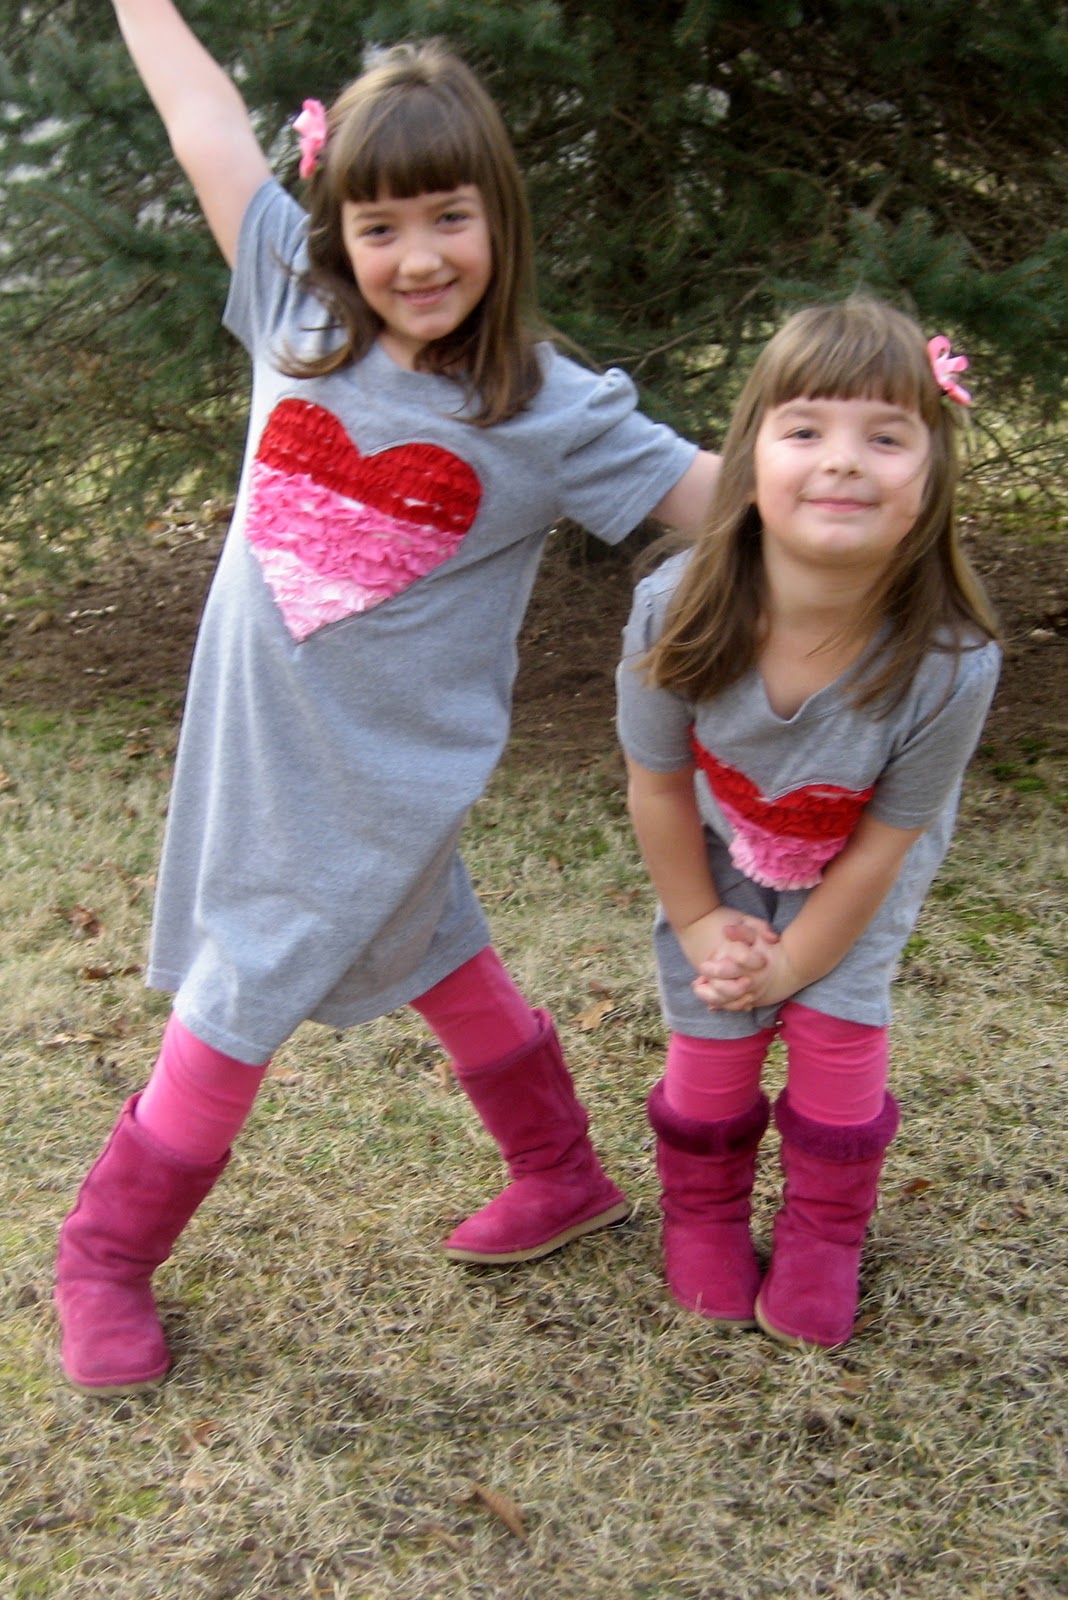
Here are my sister in-law and two nieces modeling their new cowls.


I also made one for my aunt and for my husband's secretary. I haven't knit in about 6 years and it was nice to get back to it. Even when I used to knit it was only very basic scarves and maybe one or two hats. I think I even have a half finished blanket still lying around somewhere. :)
I have been trying to branch out and try new things like cables. I am currently working on a hat that involves some lace work. Hmmm... we'll see how it goes.
If you are interested in getting started with knitting here of some web sites that I have found very helpful.
Knitting Help and The Knit Witch both have some awesome knitting videos. If you come across a stitch in one of your projects that you don't know how to do just look on one of these sites and there will most likely be a video for it. If not, I have found Youtube to be very helpful.
Ravelry is full of awesome free patterns for just about anything you can think of. I love that you can type in the type of yarn that you have in your stash and see what others have made with it. There are also tons of knitting groups that you can join on-line.