Monday, January 31, 2011

Disney Trip


IMG_7159

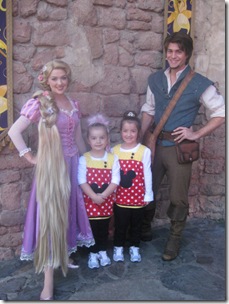
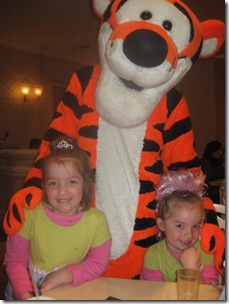
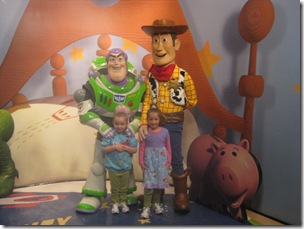
My mom surprised my girls with a trip to Disney to give them something nice to think about while they recovered from their tonsillectomy.  A bit extravagant I know but that’s what grandmas are for right?  We had a really wonderful time!  The girls were so good and really had some very “magical” moments.  Here are some of the highlights.


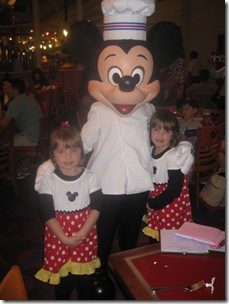
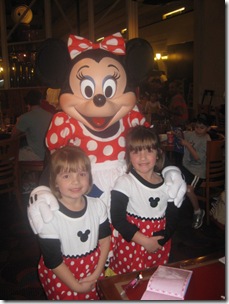
Dinner with Mickey and Minnie.

IMG_7150 IMG_7153


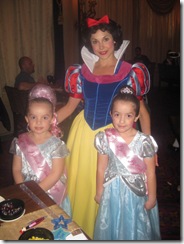
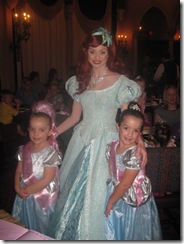
Meeting our favorite characters!

IMG_7222 IMG_7451

 IMG_7496 IMG_7469

IMG_7551IMG_7425


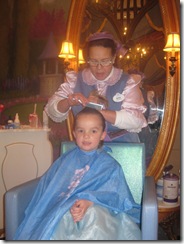
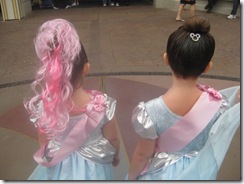
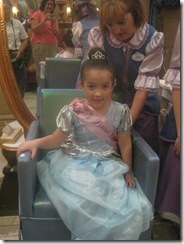
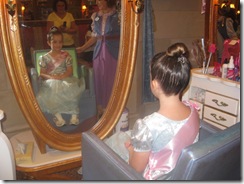
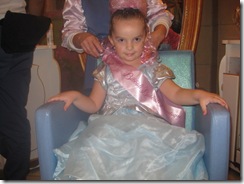
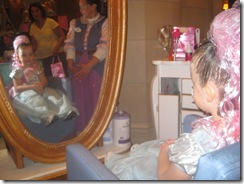
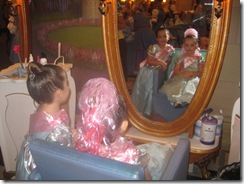
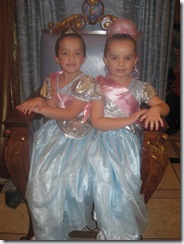
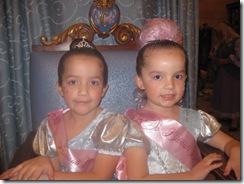
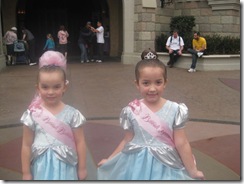
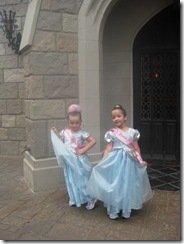
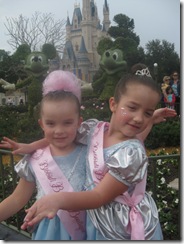
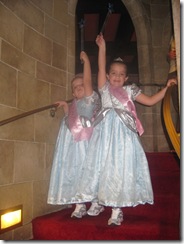
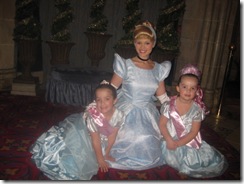
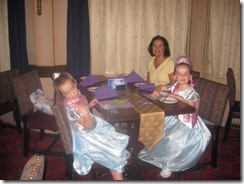
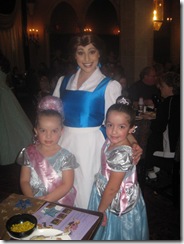
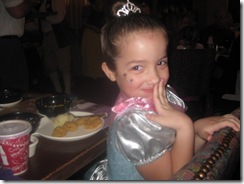
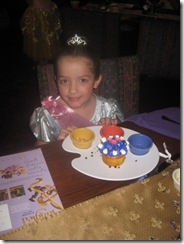
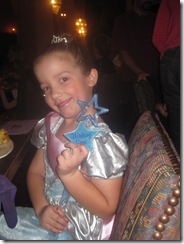
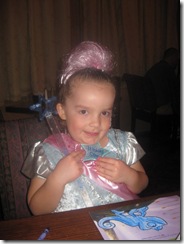
The highlight of the trip was definitely going to the Bibbidi Bobbidi Boutique to get fancy.  Then we went to a special dinner in the castle with Cinderella and the princesses.  The girls loved it!

  IMG_7232 IMG_7236  IMG_7284   IMG_7261 IMG_7264 IMG_7275 IMG_7277 IMG_7278 IMG_7279  IMG_7281 IMG_7283 IMG_7286 IMG_7292 IMG_7301 IMG_7335 IMG_7305 IMG_7310 IMG_7311 IMG_7316   IMG_7319 IMG_7323 IMG_7324

IMG_7317IMG_7318


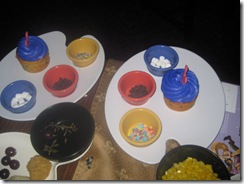
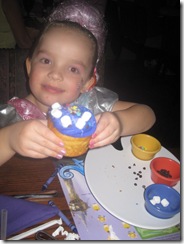
The girls got to decorate their own cupcakes.

 IMG_7326

 IMG_7327 IMG_7330


They also received a wishing star and wand.

IMG_7333 IMG_7334

As they say at Disney, “Dreams really do come true!”

I make clothes for our Disney trip every year and I will post about those in the next day or two.

Signature

Saturday, January 29, 2011

Sugar and Spice Skirt


IMG_7052

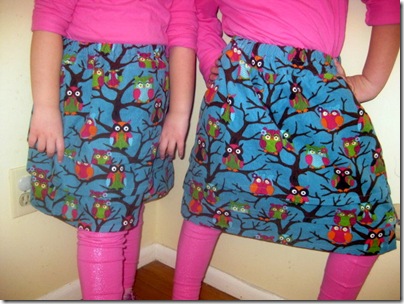
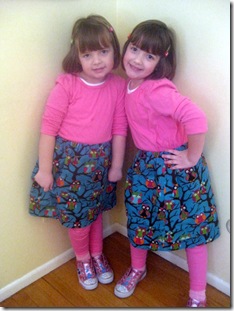
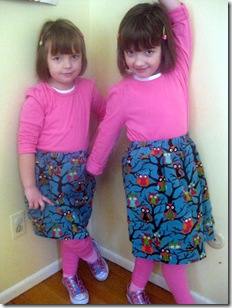
I’ve been really wanting to make this skirt ever since I saw the tutorial for it on From An Igloo.  It is super cute and super easy!  I loved making it and my girls love wearing them. 


 IMG_7050 IMG_7055

Don’t they look cute?

If you would like to make one too be sure to check out the tutorial here.

Signature

Sunday, January 23, 2011

Kimberbell Kids Dolls

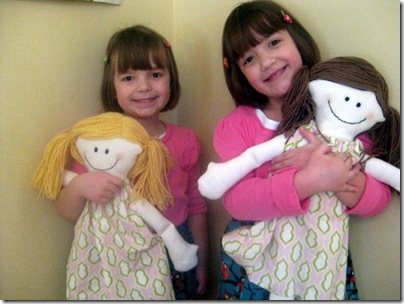
My little girls had their tonsils out last week.  I knew that they were going to need lots of rest and down time and I wanted them to have something cute and snuggly.

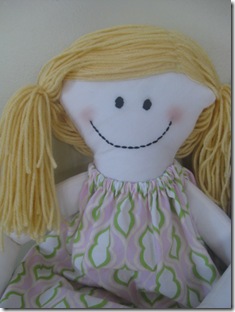
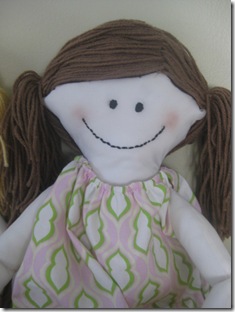
I decided to make these adorable Kimberbell Kids Dolls.

IMG_6959


You can get the pattern at You Can Make This.  I think that this was by far the best PDF pattern that I have ever purchased.  It was very detailed and really walked you through every step of making these dolls.  These were the first dolls that I have ever made and I think that they came out pretty cute.  The only other “doll type” thing that I have ever made were the Molly Monkeys.

 IMG_6968 IMG_6969

Aren’t their faces super cute?


 IMG_7058 

I think that these faces are super cute too!  I love you girls and I am so happy that you are feeling better!  XOXOXO

Signature

Friday, January 21, 2011

Tag Baby Blanket

When my boys were born, they were each given “Taggie” Blankets.  One of my boys has become super attached to it.  He has actually now taken his brother’s “Taggie” as well and needs to go to bed with both of them.  The other day, something horrible happened!  It was time for bed and we could only find one!  Now you would think that this would be sufficient but no he has to have two.  Well lets just say that it was a bit of a fiasco.  Fortunately, my husband, who seems to be able to find anything found the missing blanket the next day.  I headed out to Joann’s for supplies to make extra blankets to avoid this happening ever again.
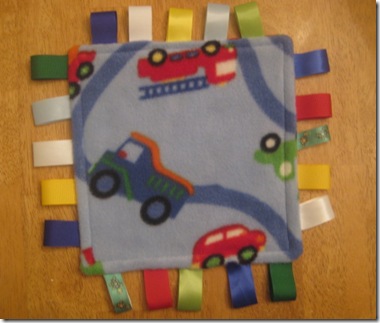
 

IMG_6953

There are many tutorials out there for these.  I will share how I made mine.  (FYI I have heard that the “Taggie” company doesn’t take too kindly to people selling these so please be sure to make them for personal use only.)

Materials:

Fleece Fabric

Several pieces of ribbon.  ( I used both satin and grosgrain ribbon in mostly 7/8” width.)

Thread, sewing machine, etc.
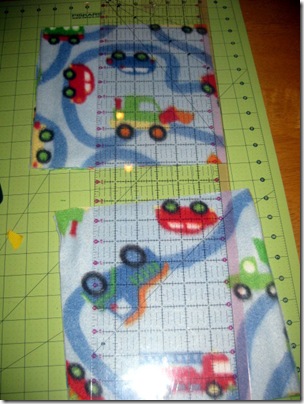
IMG_6939

Cut two squares of fabric.  These should be about 12 1/2” X 12 1/2” so that your finished squares are 12”x12”.  I was being stingy and wanted to get as many squares out of 1/2 yard of fabric as possible so I cut mine 9”x9”.
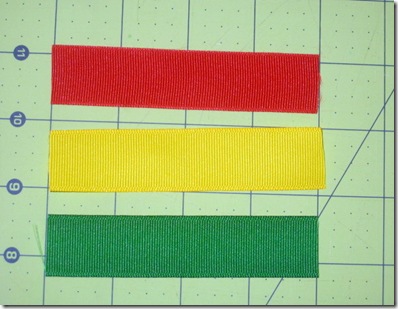
 

IMG_6941

Cut a variety of ribbons to a length of 4”.

(Don’t cut your ribbon too long as babies tend to suck on these and they could pose a choking hazard.)
 

 IMG_6944

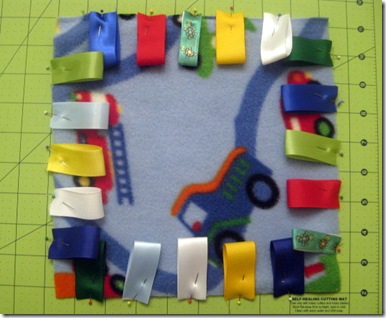
Place one of the squares right side up.  Fold the ribbon pieces in half and pin the raw edges to the edges of the square.


  IMG_6946

Place the second square on top with the wrong side up and pin.
 

 IMG_6947

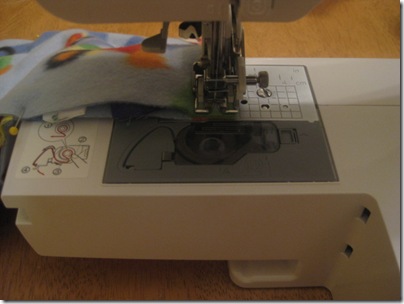
Sew around the square using 1/4” seam allowance.  When you get to a corner make sure your needle is down, lift the pressure foot and pivot the fabric.   Continues sewing down the next side.  Be sure to leave a couple of inches open for turning.


  IMG_6953

Turn the blanket right side out through the hole you have left.  I like to use a chopstick to help turn the corners all the way out.  Topstitch around the edge of the blanket.  This will close up the hole that was left open.

Keep several on hand for emergencies!  :)

 

Signature

Related Posts with Thumbnails